
Pigtail Catheter Placement from EM Cases Summit
In each EM Cases Summit video you’ll get a taste of the awesomeness of EM Cases Summit.
For limited time full access to digital streaming package of entire EM Cases summit visit emcasessummit.com
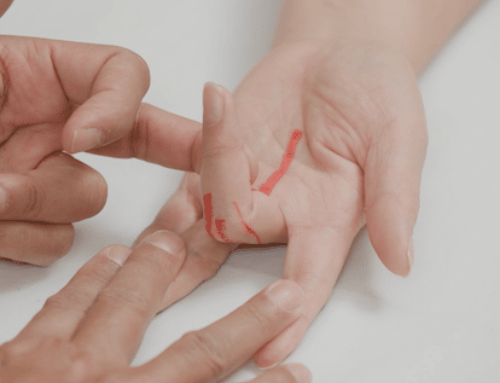
PEARL # 1 – LOCATION/LANDMARK: Minimize skin to pleural distance.
- Often the region with the least amount of adipose/muscle tissue will be in the 4th to 5th ICS, mid to anterior axillary line. This is often more superior than expected. Palpating along the 5th rib at the level of the nipple/breast fold, and following it posteriorly as it travels superiorly can be helpful.
- In certain circumstances, an anterior approach in the 2nd ICS, mid-clavicular line, may be desired. PITFALL: Remember that the clavicle ends at the acromion, and so the mid-clavicular line is often more lateral than expected.
PEARL # 2 – ADEQUATE LOCAL ANESTHESIA: This can obviate the need for sedation.
- Enter the rib space slightly above the rib below, to avoid major neurovascular bundles running underneath the rib, and collaterals running above the rib.
- Advance your needle in small increments. Aspirate first, and then inject. Once you enter the pleural space, pull back again until you feel resistance once more. Your needle should now be sitting in between the internal intercostal and innermost intercostal muscle. This is where the neurovascular bundles travel – inject the rest of your local anesthesia here.
- BONUS TIP: This should also help you estimate the depth of the chest wall (skin to pleural distance).
PEARL #3 – DILATING: Do it in a controlled manner.
- PITFALL: First make sure to make a big enough nick in the skin. Your guidewire should be able to move side to side through this small nick.
- Once you insert the dilator, avoid the urge to push through the resistance with force. Instead, with a bit of force directed towards the chest wall, twist your dilator to try and catch some of the fascia, and then pull back as if to try and tear it. This will likely require a few attempts, but you should feel the loss of resistance once you are successful.
PEARL #4 – USING THE OBTURATOR: Needless to say, it is there for a reason.
- Insert the obturator all the way into the pigtail catheter with the stop cock, and lock it in place. This will ensure that your chest tube is rigid and make it easy to feed over the guidewire and through the chest wall. This will also assist you in aiming the tube (superiorly and anteriorly for pneumothorax).
- Advance until the second line on the pigtail catheter, then pull back the obturator part way, and advance the pigtail catheter to the third line. Then completely remove the obturator and guidewire.
PEARL #5 – INTERPLEURAL BLOCK: Provide your patient with ongoing analgesia.
- Inject long acting local anesthetic (e.g. bupivacaine) through the pigtail catheter into the pleural space. This provides your patient with ongoing analgesia.
- Common dose: Bupivacaine 0.25% 10-20ml (even up to 30ml).
PEARL #6 – STOPCOCK AND ONE-WAY VALVE IN THE CORRECT POSITIONS
- The tap points to the off position.
- The blue port connects to the patient side.
- Confirm with cup of water and patient cough. Look for bubbles. This confirms the presence of an air leak and the correct positioning of stopcock and one-way valve.
PEARL #7 – USE A GOOD SUTURE: Don’t let that chest tube come out.
- Use a large suture (Size 0 or bigger) with good tensile strength (Silk)
More EM Cases videos from EM Cases Summit, Rapid Reviews, PoCUS and more
In each EM Cases Summit video you’ll get a taste of the awesomeness of EM Cases Summit.
For limited time full access to digital streaming package of entire EM Cases summit visit emcasessummit.com

Amazing video, fun and helpful
Thank you